How to Replace Flexible Tap Connectors
31 July 2026 Joe HartleyIntermediate45–90 minutes13 comments
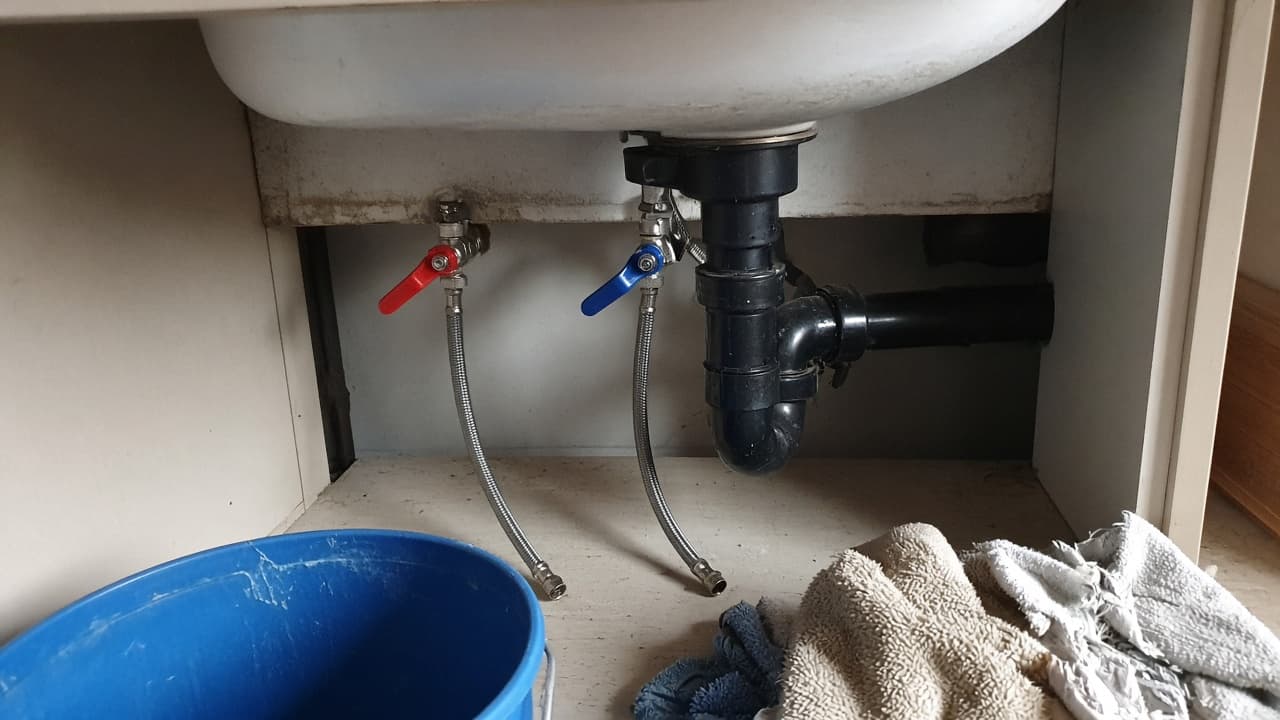
Tools
- Adjustable spanners (two)
- Basin wrench
- Bucket and towels
- Torch or head torch
- Replacement flexible connectors (correct length and thread)
- New sealing washers
- Penetrating oil if nuts are stiff
Flexible tap connectors fail long before the tap body. Braided hoses kink, washers flatten, and unions weep into the cupboard base. Replacing the flexis is a contained intermediate job if you can isolate cleanly and the nuts still turn. It is also the usual step when you are preparing for a full kitchen tap or bathroom basin tap swap.
If a nut will not move without spinning the isolator, stop and follow how to remove a seized tap connector before you snap a valve off the pipe.
Match length, thread, and ends
| Check | Why it matters |
|---|---|
| Length | Too short pulls on the isolator; too long kinks behind the waste |
| Tap end vs isolator end | Many hoses are ½″ BSP both ends; some taps need a different tail |
| Hot vs cold | Same hose type is fine; label which side you lift first |
| Bore | Narrow cheap flexis starve mixers; do not downsize on a hungry kitchen tap |
Take the old hose to the DIY store, or photograph both ends with a rule in shot. Buy pairs even if only one weeps; the sibling is usually the same age.
Job-specific detail: Under a Belfast or deep sink, the cold flexi often takes a longer route around the waste trap. Measure the installed path, not the straight-line distance. A hose that looks long enough on the carpet will kink once the trap goes back.
Measure, label, then isolate
Note which hose is hot and which is cold (tape on the braid helps). Measure the installed path around the waste, not the straight line across the cupboard floor. Then close the isolators or the stopcock, open the tap to drain, and clear the cupboard so you can kneel square to the valves. A bucket under the joints and a towel in the base is enough; leave seize-and-soak tactics to how to remove a seized tap connector if a nut will not budge.
Step-by-step
1. Counter-hold and undo the isolator end
One spanner on the isolator body, one on the hose nut. Turn the nut only. Catch drips. If the isolator turns with the nut, reassess: penetrating oil and patience, or the seized-connector method. Do not brute-force plastic valve bodies.
2. Undo the tap tail end
Some tails undo with a normal spanner from below; others need a basin wrench. Support the tap body from above if it wants to spin in the deck. Keep any fibre washer to match size, even if you discard it for a new one.
3. Compare old and new side by side
Check thread size, sealing face, and length. Fit new washers where the design uses them. Do not wind PTFE onto a flat washer face that is meant to seal on fibre or rubber alone unless the fitting maker says so.
4. Fit the tap end first
Hand-start the nut on the tap tail so you do not cross-thread in the dark. Tighten firmly while holding the tap still. Keep the hose free of twists; a braided line that looks “tidy” with a 180° twist will work-harden and fail early.
5. Connect to the isolator
Offer the hose without pulling the pipe. Hand-start, then tighten while counter-holding the isolator. Leave a gentle loop, not a sharp bend against the chipboard back.
6. Restore water and watch
Open isolators slowly. Run hot and cold. Check both nuts and the tap base. A damp patch on the towel after five minutes means remake that joint, not hope.
Mistakes that bring you back under the sink
- Using a flexi so short it tensions the isolator sideways and weeps at the olive behind the valve.
- Cross-threading the tap tail because you started the nut on a slant with one finger.
- Skipping the counter-hold and rotating a compression isolator until the copper work-hardens.
- Reusing a crushed fibre washer “because it looked fine.”
- Routing the hose behind a sharp waste clip that frets the braid every time the cupboard door bangs.
When to call a plumber
Call a plumber if both ends are seized, the isolator cracks, copper tails are pinholed, or the tap spins in a rotten sink deck and needs a fuller rebuild. If you came here mid kitchen or basin replacement and the deck fixing is shot, finishing the whole tap job in one visit is usually wiser than patching hoses onto a dying body.
Cluster links: remove a seized tap connector, replace a kitchen tap, replace a bathroom basin tap, replace an isolation valve.
FAQ
How often should flexible tap connectors be replaced?
There is no fixed UK timetable. Replace them when they weep, blister, kink, or show rust streaks at the crimps. Many people swap both when changing a tap so they are not back under the sink a year later.
Can I mix copper tails and flexis?
Yes. Many older taps use copper; modern mixers use flexis. What matters is a sound joint at each end and support so nothing strains the isolator. Do not sleeve junk adapters that reduce bore to a pinhole.
Why does the new connector drip only when the tap runs hot?
Heat expands the joint and shows a washer that is slightly too thin, a nut not quite seated, or a cracked isolator face. Isolate, remake with the correct washer, and retighten while counter-holding. Persistent hot-only weeps on brass often need a new isolator face or valve.
13 comments