How to Fix a Dripping Mixer Tap
30 August 2026 Joe HartleyBeginner45–90 minutes6 comments
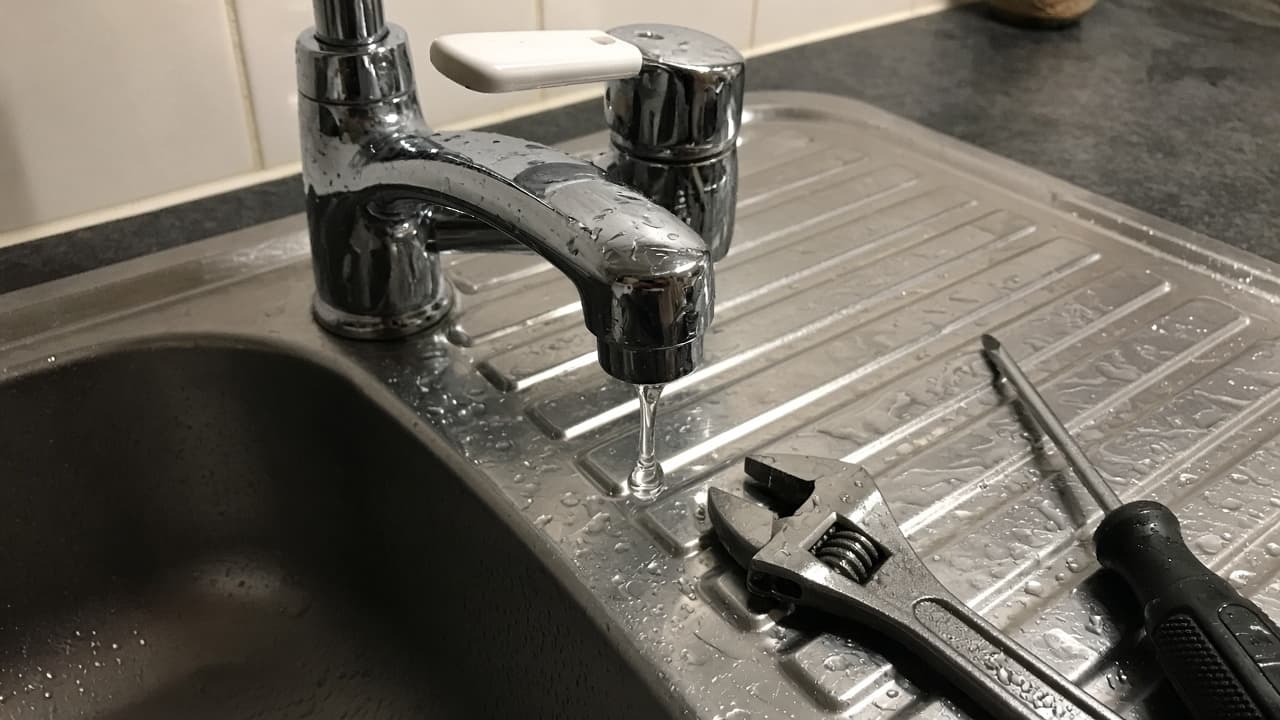
Tools
- Adjustable spanner
- Allen keys
- Screwdrivers
- Replacement ceramic cartridge
- O-ring kit
- Soft cloth
Most modern UK mixer taps drip because the ceramic cartridge is worn, not because of a classic rubber washer. Match the cartridge, note its orientation, and the repair is steady rather than mysterious. If yours is a traditional pillar or mixer with a rubber washer, use how to change a tap washer instead.
What the drip is telling you
| Symptom | Likely cause |
|---|---|
| Drip from the spout when off | Worn ceramic cartridge |
| Weep around the handle | Failed O-rings on the cartridge stem |
| Drip only on hot or cold (twin-lever) | That side’s cartridge or valve |
| Water under the body / deck | Base O-ring or loose tails (different fix) |
If you have an older headwork mixer with rubber washers, use how to change a tap washer instead.
Get set without flooding the cupboard
Close hot and cold isolating valves under the sink or basin, open the mixer to drain pressure, and photograph the handle and cartridge orientation before you strip anything. Keep a cup handy for grub screws; the waste will take anything you drop.
Take the old cartridge to the DIY store or note the brand stamped on the tap body. Cartridges that are only roughly the right size often drip or bind.
What you will need
| Item | Notes |
|---|---|
| Ceramic cartridge | Exact match for brand / spindle size |
| O-rings | Often supplied with the cartridge |
| Allen keys / screwdrivers | Grub screws and handle retainers |
| Adjustable spanner | Retaining nut |
| Soft cloth | Protect chrome |
Step-by-step
1. Remove the handle
Prise off the decorative cap or cover. Undo the grub screw (often Allen) and lift the handle straight up. Keep small parts in a pot.
2. Expose the cartridge
Undo the decorative cover or shroud by hand or with a cloth-wrapped spanner. You should see a retaining nut around the cartridge top.
3. Withdraw the cartridge
Undo the retaining nut. Pull the cartridge straight up. Do not twist hard or you can crack the body. Note which way the hot/cold ports faced.
4. Fit the replacement
Lubricate new O-rings lightly with silicone grease if supplied. Seat the new cartridge in the same orientation. Tighten the retaining nut firmly, not brutally.
5. Rebuild and test
Refit shroud and handle. Open the isolating valves slowly. Cycle the mixer through hot, cold, and mixed. Check the spout when fully off, and feel around the base for weeps.
Common mistakes
- Buying a universal cartridge that is a millimetre out.
- Refitting the cartridge 180° wrong on mixers that care about orientation.
- Over-tightening the retaining nut and cracking the plastic cartridge top.
- Ignoring a drip from the base. That is usually a deck O-ring or loose flexible connector, not the cartridge.
When to call a plumber
Stop if the tap body is cracked, the cartridge is seized in a corroded housing, you cannot isolate hot and cold separately on a combi supply you do not understand, or the leak is coming from soldered pipework below the sink. Replacing the whole tap may be cheaper than fighting a discontinued cartridge.
Same cluster: how to change a tap washer for older headwork, how to replace a kitchen tap, how to replace a bathroom basin tap, and how to replace a bath mixer tap.
FAQ
Can I fix a dripping mixer without replacing the cartridge?
Sometimes cleaning grit from the ceramic discs helps briefly, but a persistent drip usually means the cartridge is worn. O-ring kits only cure handle weeps, not spout drips.
Why does my new cartridge still drip?
Wrong part, debris on the seats, or a damaged tap body. Remove it, check for grit, confirm the model number, and reseat carefully.
How long should a ceramic cartridge last?
Often several years in soft-water areas; less where limescale is heavy. A descaling tap aerator helps flow but will not resurrect a failed cartridge.
6 comments