How to Change a Tap Washer
29 June 2026 Joe HartleyBeginner30–45 minutes11 comments
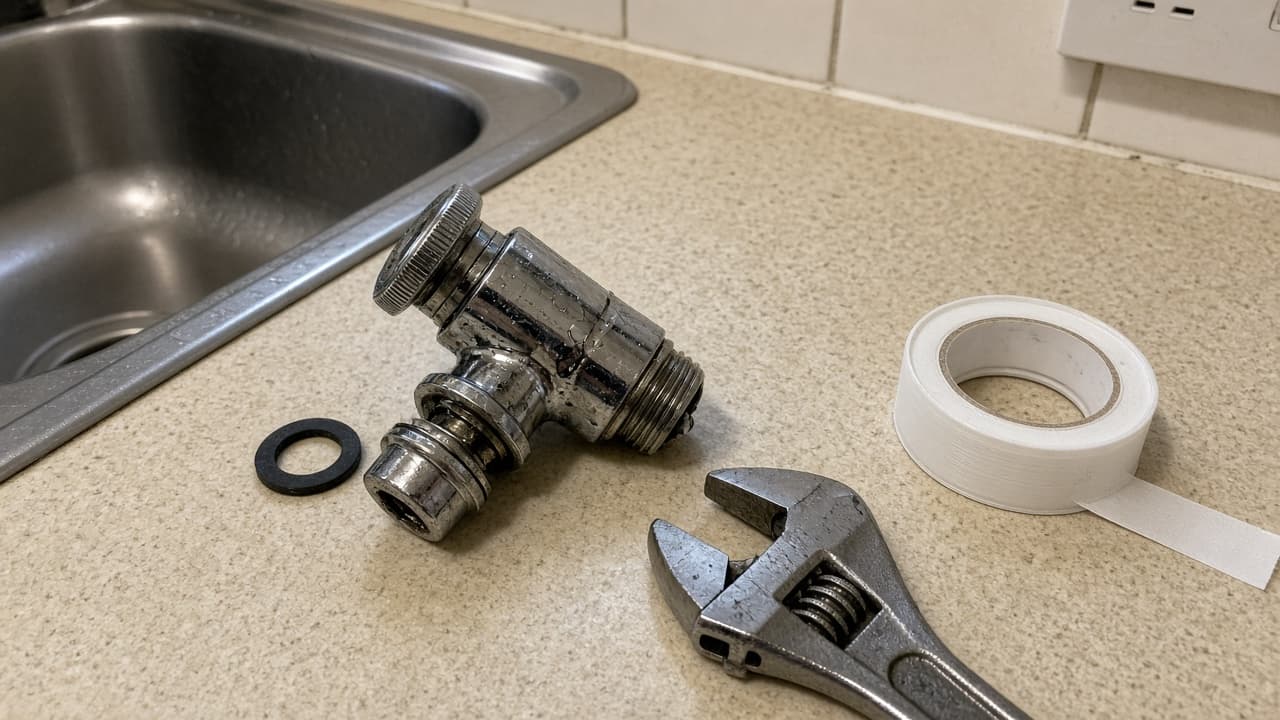
Tools
- Adjustable spanner
- Flat and Phillips screwdrivers
- Replacement rubber washer
- PTFE tape
- Soft cloth
A dripping tap is almost always a flat washer (or a failed ceramic cartridge, which is a different job). On traditional UK pillar and headwork taps, changing the washer is a short, reliable fix if you isolate the water properly and match the old part.
Before you start
- Turn off the isolating valve under the sink or basin. If there is none, close the main stopcock.
- Open the tap fully and let residual water drain.
- Put the plug in so screws cannot vanish down the waste.
- Protect chrome with a soft cloth when you use a spanner.
If the tap uses a ceramic disc cartridge instead of a washer, stop here and follow how to fix a dripping mixer tap.
What you will need
| Item | Notes |
|---|---|
| Rubber washer | Match diameter and thickness. Take the old one to a DIY store. |
| Adjustable spanner | For the gland / headgear nut |
| Screwdrivers | Handle caps and retaining screws |
| PTFE tape | Only if a threaded joint weeps on reassembly |
| Soft cloth | Protect finishes |
Step-by-step
1. Remove the handle
Prise off the hot/cold indicator cap. Undo the screw underneath and lift the handle clear. Some handles use a side grub screw; loosen that instead.
2. Undo the headgear
Wrap the cloth around the chrome shroud or cover and undo it. Then undo the brass headgear (valve body) with the spanner. Lift the whole valve out.
3. Swap the washer
On the bottom of the valve spindle you will see a small rubber washer, often held by a nut or simply pressed on. Remove it. Fit the new washer flat and snug, not twisted or overhanging the seat.
4. Check the seat
Look into the tap body. If the brass seating looks deeply scored, a new washer may only buy you a short fix. A seating tool or a plumber’s visit is better than stacking washers.
5. Reassemble and test
Refit headgear, shroud, and handle. Turn the water on slowly. Check for drips at the spout and around the shroud. A light re-tighten is fine; do not crush the new washer by over-tightening the spindle.
Common mistakes
- Fitting a washer that is slightly too small. It will weep within days.
- Forgetting to isolate both hot and cold on a mixer with two valves.
- Scoring chrome with a bare spanner.
- Assuming every drip is a washer when the cartridge has failed.
When to call a plumber
Call a plumber if the tap body is cracked, the seating is badly worn, you cannot isolate the supply, or water still seeps from the spout after a correctly sized washer. Shared stopcocks in flats are another good reason to get help rather than cutting off neighbours.
Cluster links: fix a dripping mixer tap if you have a ceramic cartridge, replace a kitchen tap if the body is finished, or replace a bathroom basin tap for a basin swap.
FAQ
How do I know if my tap has a washer or a cartridge?
Traditional crosshead or capstan taps usually have washers. Modern lever mixers usually have ceramic cartridges. Once the handle is off, a washer valve looks like a brass spindle with a rubber disc on the end; a cartridge is a sealed cylinder.
What size washer do I need?
There is no single UK size. Remove the old washer and match it exactly: diameter, thickness, and centre hole. DIY stores sell assortments if you bring the old part.
Why does the tap still drip after a new washer?
Usually the brass seating is pitted, the washer is the wrong size, or debris is trapped on the seat. Clean the seat, check the size, and replace again. Persistent drips on mixers often mean a cartridge fault instead.
11 comments