How to Fit Shed Windows and Doors
5 July 2026 Joe HartleyIntermediate2–4 hours20 comments
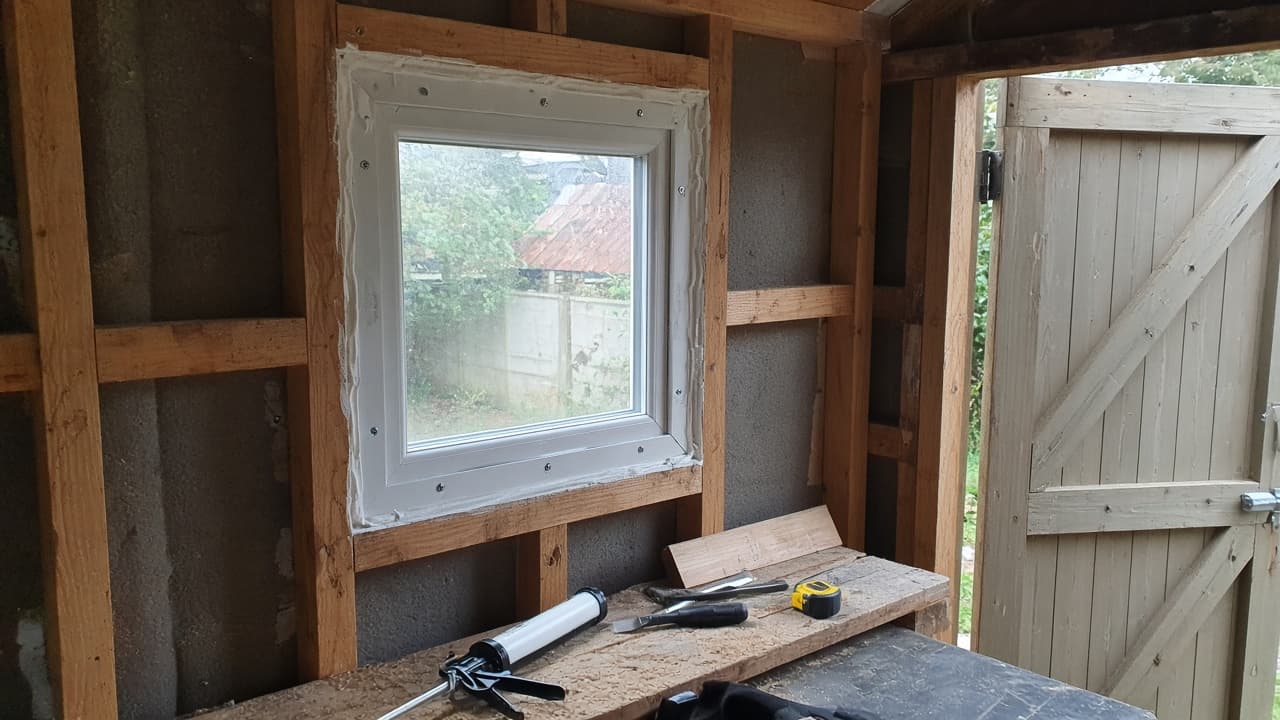
Tools
- Screwdrivers and cordless drill
- Spirit level
- Tape measure and pencil
- Chisel (for hinge recesses if needed)
- Glazing sprigs or beads (as supplied)
- Exterior sealant suitable for sheds
Shed windows and doors are where a racked build shows up first. A door that scrapes the sill and a window that weeps onto the bench usually mean the opening is out of square, or the weather beads face the wrong way. Fit them after the shell can stand on its own, and keep water moving outward at every junction.
Hub: how to build a garden shed. Fit doors and glazing after the shell can stand on its own. Cutting a new opening in an existing wall needs a framed aperture and weather beads; this guide covers fitting into openings the kit or build already provides.
What your kit actually gave you
| Setup | How you fit it |
|---|---|
| Door already framed in a wall panel | Hang the leaf on the rebated jamb; adjust hinges and latch last |
| Separate door and frame | Assemble the frame square, fix into the opening, then hang the leaf |
| Acrylic / styrene panes with beads | Seat the pane, bead from the outside weather face as the maker shows |
| Framed window units | Level the frame, fix through the sides, seal the outer perimeter |
| No glass yet (open rebate) | Do not leave the opening naked overnight if rain is due |
Check the shed is still roughly square before you chase hinges. Measure the door opening diagonals. If they differ by more than a few millimetres, loosen wall screws and nudge the panel rather than planing half the door off. Sticky doors after a wet week often mean the base dipped; fix the base before you plane the leaf.
Height: Window work at eaves level still needs a stable ladder on firm ground. Do not lean out from inside with one knee on a thin sill. No electrics in this guide: skip power tools near wet glazing compounds if you are unsure, and never treat this as a cue to wire lights or sockets.
Fixings and weather kit
| Item | Notes |
|---|---|
| Hinges and screws supplied | Use the lengths given; soft framing strips easily |
| Latch, hasp, or lock set | Fit after the door swings freely |
| Glazing material | Acrylic scratches; peel protective film at the right stage |
| Beads / sprigs | Outside face usually takes the weather bead on shed kits |
| Exterior sealant | Thin fillet where frame meets cladding if the maker allows it |
| Spirit level | Check jambs plumb before final screws |
Security upgrades after the door works: secure a shed against theft.
Step-by-step
1. Confirm openings and clear the work
Remove transit braces and any temporary screws holding a door closed. Sweep shavings out of hinge rebates. Offer the door leaf into the opening on wedges or blocks to check height and side gaps before you commit to hinge positions.
2. Hang the door
Mark hinge positions from the kit (often three hinges on a full-height shed door). Cut shallow recesses if the hinges need to sit flush; a proud hinge binds. Screw hinges to the door first, then to the jamb while a helper holds the leaf. Check the latch edge gap is even. Pack behind a hinge slightly if the door leans into the stop on one corner. Plane only a little, and only after the building is squared.
3. Fit latch and stop
Fit the latch or tower bolt so the door pulls snug to the stop without slamming. Adjust the keep so you are not lifting the leaf to latch. A door that only closes when you lean on the cladding means the walls are still racked.
4. Glaze or fit window frames
For bead-glazed openings, clean the rebate, seat the pane on any packing the kit provides, and fix beads so water runs off the outside face. Do not trap the pane hard in a twisted rebate; that cracks acrylic when the sun hits. For framed units, set level, fix through the sides into studs, and seal the outer joint lightly. Avoid stuffing sealant into gaps that should be covered by a drip mould.
5. Weather check and hardware
From outside, confirm sill drips clear of the cladding and that felt or drip edges above the window still shed onto the frame, not behind it. Fit handles and locks. Open and close everything a few times after the roof felt is on; timber moves slightly as it dries.
Mistakes that leave a door that never sits right
- Hanging the door before the roof is on, then watching the opening twist when the walls pull in.
- Beading acrylic from the inside face so rain sits in the rebate.
- Driving long screws through thin jambs into nothing, which pulls the rebate crooked.
- Planing the latch edge repeatedly instead of resetting a packed hinge.
When to call a carpenter
Stop if the door lining is rotten, if cutting a new opening means removing a structural stud you cannot reinstate, or if polycarbonate / glass units need safe handling you are not set up for. Call help rather than forcing a warped leaf into a diamond-shaped hole.
Related: build a garden shed, assemble a shed, felt a shed roof, secure a shed against theft, treat and paint a shed.
FAQ
When should I fit shed windows and doors?
After the walls are up and preferably after the roof boards (and ideally the felt) are on, so openings stay closer to their final shape. Fit glass before a wet night if the openings are exposed.
Why does my shed door stick after rain?
Timber swells, and a slightly out-of-square opening gets worse when the base softens. Check hinge packing and base level before you take a lot of wood off the door.
How do I stop shed windows leaking?
Seat panes with the weather beads outside, keep drip edges above the frame clear, and seal only where the maker intends. Leaks at the head often mean water running behind cladding from a failed roof edge, not a failed pane.
20 comments