How to Assemble a Shed
8 June 2026 Joe HartleyIntermediate4–8 hours20 comments
Tools
- Cordless drill/driver
- Spirit level
- Tape measure
- Step ladder (stable footing)
- Hammer and nail punch
- Two people (recommended)
Assembling a shed is less about clever carpentry and more about sequence and a true base. Panel kits go up quickly when the floor is level and square. They fight you all afternoon when one corner is low and you keep “pulling” walls into line with the drill.
Overview: how to build a garden shed. You need a finished base first: how to build a garden shed base. After the shell is up: how to felt a shed roof, then fit shed windows and doors if they are separate from the panels.
Before you open the pack
| Check | Why it matters |
|---|---|
| Base level and square | Walls rack if the floor twists |
| Dry, calm day | Featherboard panels sail in wind; felt hates rain |
| Parts list vs crate | Missing purlins or a short wall panel are painful mid-build |
| Two people | Gable ends and roof sheets are awkward and heavy alone |
| Maker’s manual | Screw lengths and panel order vary by brand |
Do not skip reading the kit instructions for panel labels (often stamped on the framing). UK DIY-store sheds usually build floor first, then walls starting from a gable or a long side, then roof boards or OSB, then felt. If your kit includes windows and a door already framed in the panels, hang hardware after the walls are braced, not before the structure can stand alone.
Height and ladders: Use a stable step ladder on firm ground for roof work. Do not stand on incomplete roof boards. Keep one hand for the shed when you can. If you are not confident at eaves height, get a second person to pass panels up rather than climbing with a sheet in both hands.
This guide covers mechanical assembly only. Do not run mains electrics into the shed as part of this job. Lighting and power need a separate Part P path and are not DIY filler steps here.
Kit and fixings
| Item | Notes |
|---|---|
| Floor bearers / panels | Sit fully on the base; no cantilevered corners |
| Wall panels | Match labels; window panel orientation matters |
| Roof boards or sheets | Often tongue-and-groove or OSB; follow span support |
| Screws and nails supplied | Use the lengths in the manual; longer is not always better |
| Corner braces / metal plates | Fit when the maker supplies them; they stop racking |
| Spirit level | Check each wall before you lock the next one |
Step-by-step
1. Lay the floor
Position the floor on the base so cladding will drip clear of the edge. Check diagonals again. Screw floor panels to bearers as instructed. A floor that rocks underfoot will show every gap in the walls later. If the kit has separate bearers, fix them to the base (or weight them) so they cannot creep while you build.
2. Stand the first walls
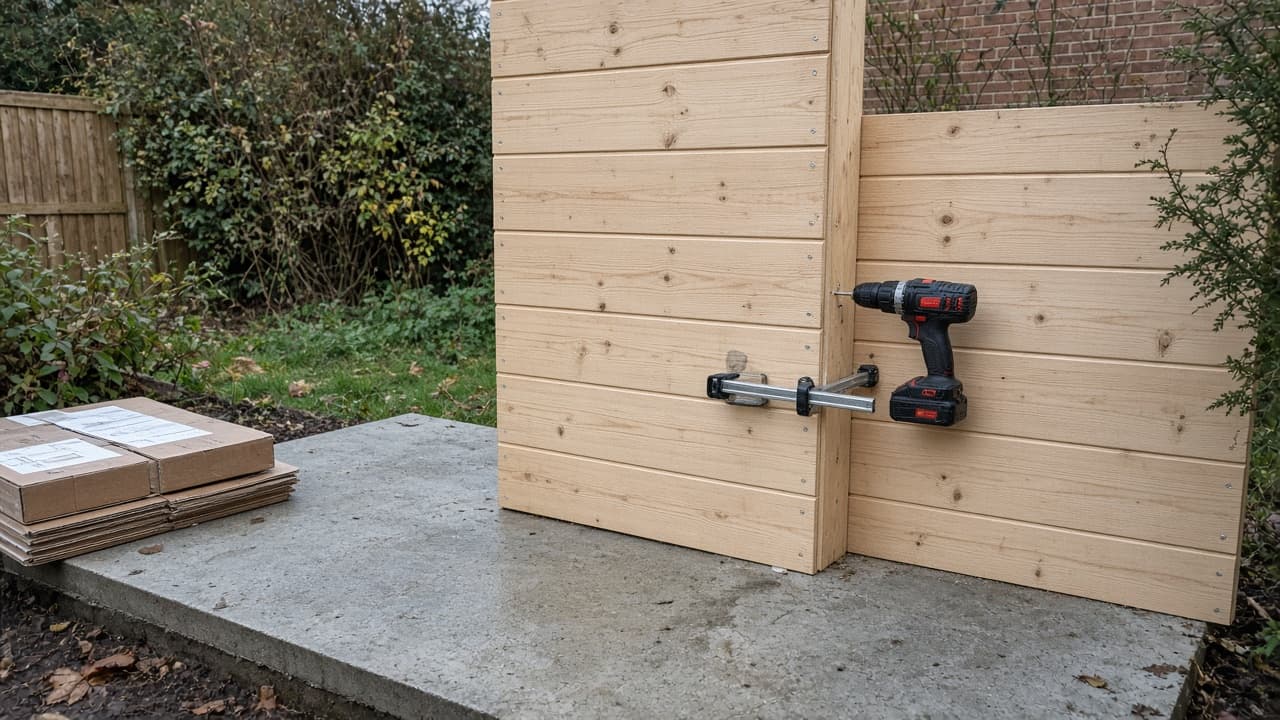
Start with a gable end or the long back wall, depending on the manual. Get a helper to hold the panel plumb while you drive the bottom screws into the floor framing. Check with a spirit level on the stud, not only on the featherboard face (boards can cup). Add the adjacent wall and screw the corner framing together. Do not fully tighten every screw until two or three walls are up and you can still nudge for square.
3. Close the box and check square
Fit the remaining walls, including the door panel. Measure diagonals across the inside of the floor again, and sight along the top plates. If one corner is proud, loosen nearby screws, tap the high corner toward square with a rubber mallet on a scrap block, then retighten. Temporary bracing from a stake to a wall stud helps in wind until the roof is on.
4. Fit roof structure and boards
Place purlins or truss pieces as drawn. Roof boards usually run across the purlins; leave the overhang the manual specifies (often enough for a drip edge once felted). Screw or nail as instructed. Work from a secure ladder position; do not walk the centre of thin boards until enough fixings are in. Stop if gusts make panel handling unsafe.
5. Fit ridge, trims, and temporary weather cover
Fit bargeboards and fascia pieces when the kit includes them. If you cannot felt the same day, cover the roof with a heavy tarpaulin weighted at the edges so a shower does not swell the boards overnight. Proper weatherproofing is the next guide: how to felt a shed roof.
Assembly mistakes that show as sticky doors
- Building on a base that is “nearly” level. The door binds at the top latch side within weeks.
- Driving all corner screws home before checking plumb. You then fight twisted openings.
- Mixing left and right window panels so the glazing beads face the weather wrong way.
- Standing on the roof boards before they are fully fixed, which springs joints and leaves waves under the felt.
When to call a shed fitter or carpenter
Call help if panels arrive damaged or short, if the base is beyond DIY packing (sinking clay, tree roots under one corner), or if a large sectional building needs a crane or scaffold you do not have. Stop rather than forcing warped panels into a racked rectangle. For windy exposed gardens, plan anchors early: secure a shed against theft.
Series links: previous shed base, next felt the roof, then windows and doors. Hub: how to build a garden shed.
FAQ
How long does it take to assemble a shed?
A typical 6 × 4 or 7 × 5 panel kit is often a long morning or a full day for two people, not counting the base or felt. Larger apex sheds and awkward sites take longer.
Can I assemble a shed alone?
Floor and small side panels sometimes, roof and gables rarely without risk. Get a second pair of hands for anything above shoulder height.
Should I treat the timber before assembly?
Many kits are dip-treated already. Cutting ends and bare framing still need preservative. Full decoration is easier once the shell is up and dry: how to treat and paint a shed.
20 comments