How to Treat and Paint a Shed
18 June 2026 Joe HartleyBeginner1–2 days (plus drying between coats)5 comments
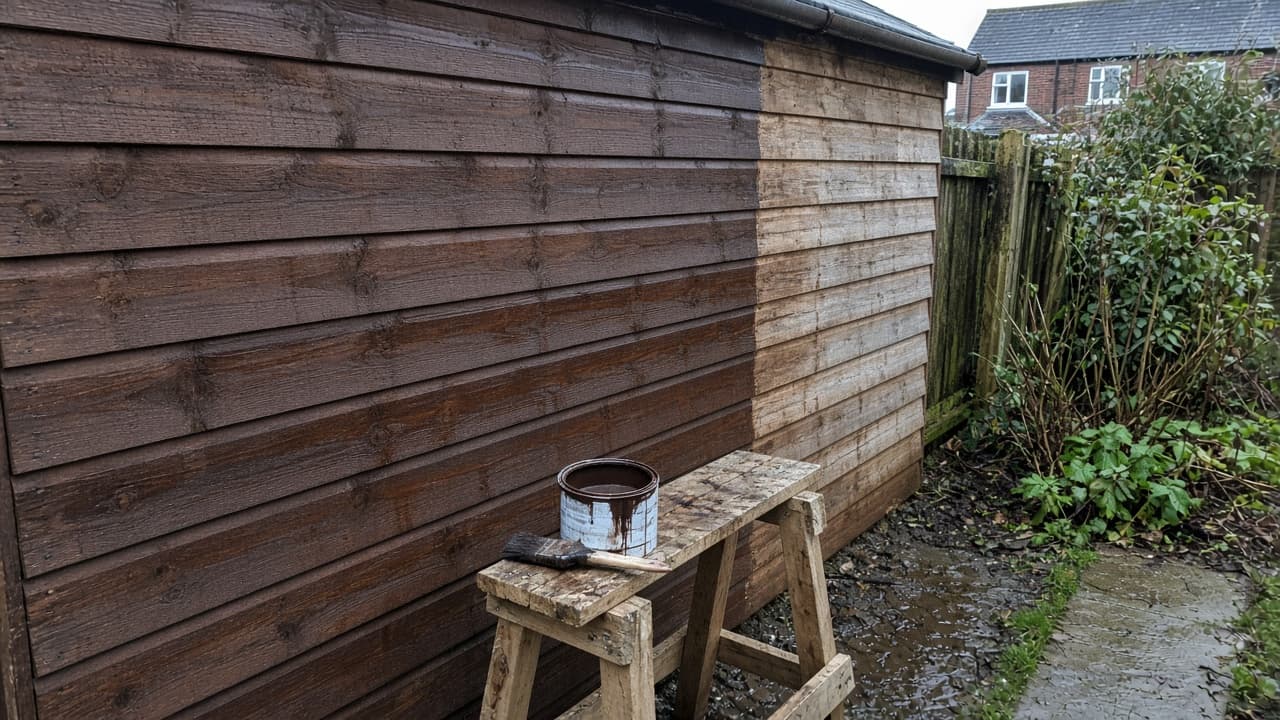
Tools
- Stiff brush and scraper
- Sandpaper or sanding block
- Stirring stick and paint kettle
- Exterior brush (and roller for large flat panels if you prefer)
- Dust sheets or cardboard at the base
- Stepladder with stable footing
- Gloves and eye protection
Treat and paint a shed so the cladding sheds water instead of drinking it. UK weather cycles wet and dry through the year; bare softwood greys, checks, and invites rot at the bottom edge. A clean surface, the right exterior product, and dry application days matter more than an expensive brand name.
Choose treatment, stain, or paint
| Finish | Look | Maintenance |
|---|---|---|
| Clear / tinted wood preserver | Shows grain; greys slower than bare timber | Re-coat when water stops beading |
| Spirit- or water-based exterior stain | Colour with timber texture visible | Often easier to refresh than thick paint |
| Exterior opaque paint / shed paint | Solid colour; hides patchy timber | Prep peels carefully when it fails |
Many DIY-store “shed and fence” treatments are thin. They are fine for featheredge if you apply enough coats and keep up with re-treating. If the cladding is already coated in peeling gloss, strip or sand back to a sound key rather than trapping flakes under a new film.
Pressure-treated timber still benefits from a surface finish on cut ends and where the factory treatment was sawn through. End grain at corners and door openings drinks first.
Prep that actually lasts
- Pick a dry spell. Timber should feel dry to the touch; do not coat dew-wet cladding at 8 am and hope.
- Brush off algae, loose fibres, and cobwebs. Scrape flaky old coating.
- Sand raised grain and splinters just enough for the brush to lay flat. You are not French polishing a table.
- Mask glass, padlocks, and padlock hasps. Treatment drips seize hardware.
- Lay cardboard along the base so overspray and drips do not stain paving.
Job-specific detail: The bottom 150 mm of cladding and the door threshold edge fail first because splashback from paving never stops. Give those zones an extra coat even if you skimp elsewhere.
Step-by-step coating
1. Stir, do not shake into foam
Stir the tin thoroughly. Pour into a kettle so you are not dragging a full heavy tin up a ladder.
2. Start at the top
Coat bargeboards, fascia edges, and the tops of shiplap or featheredge first. Work down so drips get brushed out on lower boards. Follow the grain.
3. Work wet edges
On hot or windy days, thin treatments flash off fast and leave lap marks. Keep a wet edge along each elevation. Do one wall at a time if the shed is large.
4. Cut ends and joints
Brush into end grain, door edges, and window reveals. These soak and open first in frost. If you recently fitted openings, confirm beads and seals are sound (fit shed windows and doors) before you trap water behind a pretty face.
5. Second coat
Follow the tin for recoat times. A second coat on exterior softwood is normal. Skip coats and you get grey patches by next winter where the first pass was thin.
6. Roof felt alone
Felt is not painted with shed treatment. Keep finish off bitumen felt; treat timber barge and fascia only. Felt work itself is a different job: how to felt a shed roof or replace shed roof felt.
Aftercare
Revisit every couple of years. Water should bead on a healthy finish. When it soaks in dark patches, clean and re-coat before the boards cup. Keep soil and compost bags from piling against the cladding base.
Common mistakes
- Coating green, wet timber straight after delivery because the weekend was free.
- One thin pass on featheredge and calling it weatherproof.
- Painting shut the door and window overnight so they glue themselves closed.
- Ignoring the back elevation against a fence where algae thrives and nobody looks.
- Spraying on a windy day and decorating the neighbour’s washing.
When to call a pro
Call a carpenter if cladding is soft, the corner posts are rotten, or the floor collapses underfoot. Finish will not save decayed framing. For a full strip-and-repaint on a large workshop with spray equipment, a decorator may be faster than a DIY week of brush work.
Related: build a garden shed, fit shed windows and doors, felt a shed roof, secure a shed against theft.
FAQ
Should I treat a new shed before or after assembly?
Factory-treated panels still need cut ends and any bare timber coated. Many people assemble first, then treat the standing shed so every exposed face and edge gets product. Treat bearers and the underside of floorboards before they become unreachable if the design allows.
Can I paint over fence treatment?
Often yes if the treatment is dry and the paint maker allows it over that base. Thin spirit treatments can resist some paints. Check labels; when in doubt, use a matching system from one brand or stick to stain over stain.
How many coats does a shed need?
Two coats is a sensible DIY minimum on bare or weathered softwood. Follow the product: some opaque shed paints specify two, some stains want two or three thin coats rather than one heavy one.
When is it too cold to paint a shed?
Most exterior products want temperatures above about 5–10°C and no rain or frost in the drying window. Cold slows cure; overnight frost on a fresh coat can ruin the film. Read the tin for the range that applies to your product.
5 comments