How to Remove Old Tiles Without Wrecking the Wall
23 June 2026 Joe HartleyIntermediateHalf a day to 2 days per wall8 comments
Tools
- Eye protection, gloves, and dust mask
- Club hammer and cold chisels / tiling chisels
- Scraper and grout rake
- Spray bottle and dust sheets
- Stepladder and work light
- Filler or bonding plaster for repairs
- Bin bags and rigid rubble sacks
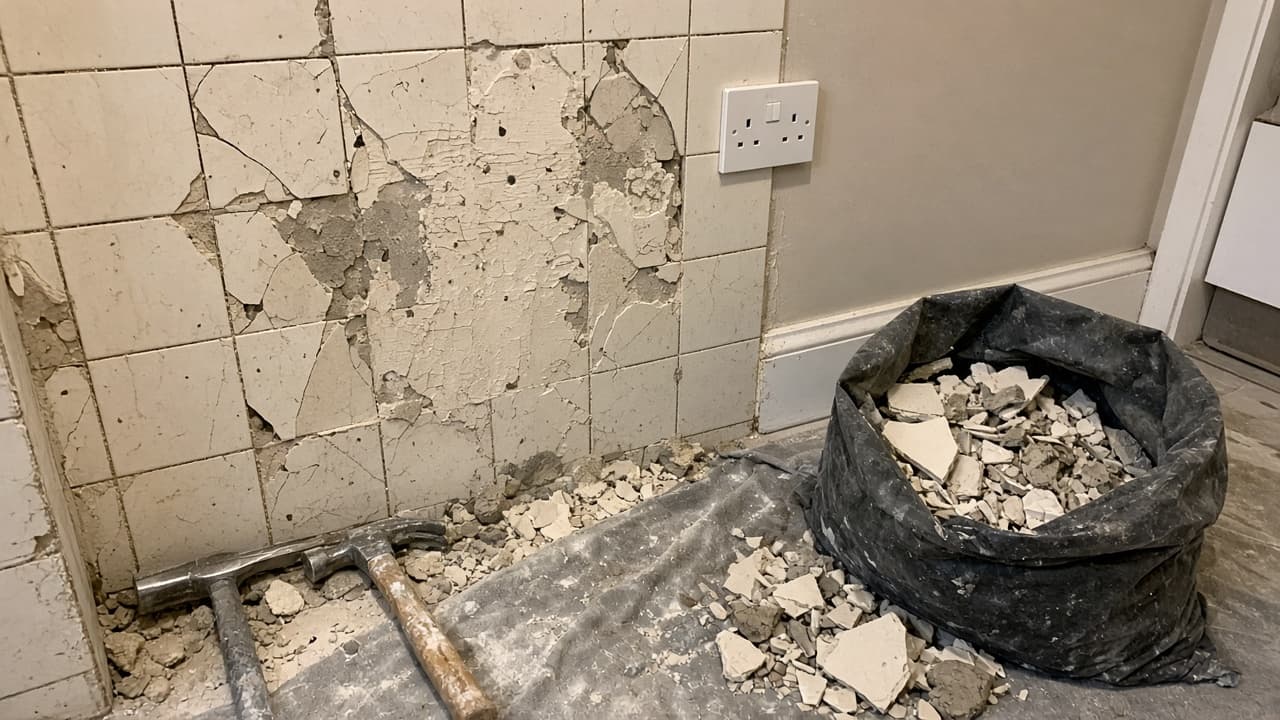
Old tiles often come off with a bite of plaster attached. Start gently, work under the tile rather than through the face, and accept repair time instead of hammering faster.
If the existing face is sound and you only want a new look, check when tiling over existing tiles is OK before you create a skip full of rubble.
Read the wall before you swing
| Clue | Likely background | Approach |
|---|---|---|
| Sharp hollow tap, tiles pop with light leverage | Weak adhesive on hard plaster | Chisel under edges; plaster may survive |
| Dull thud, tiles glued hard | Strong cement bed on masonry | Expect more force; protect edges of openings |
| Soft give, screws or grey board at edges | Plasterboard | Minimal force; boards tear easily |
| Crumbly pink/brown coat under tiles | Old plaster | Plan patching or a new board lining |
Open one tile in an inconspicuous corner first. That sacrificial tile tells you whether you are saving plaster or replacing board.
Services: Assume cables and pipes sit behind bathroom and kitchen walls. Do not drive a chisel deep on blind guesses. Isolate power if you are working around showers, fans, and socket zones. Cap or isolate water if pipes are at risk.
Kit that helps more than brute force
| Item | Notes |
|---|---|
| Eye protection | Tile shards fly |
| Dust mask / respirator | Old adhesive and plaster dust |
| Grout rake or oscillating tool | Weaken joints before leverage |
| Wide tiling chisel | Lifts under the tile better than a narrow cold chisel alone |
| Club hammer | Controlled taps, not full demolition swings |
| Spray bottle | Light misting cuts dust (do not soak electrics) |
| Sheets and cardboard | Protect baths, trays, and floors from sharp droppings |
Hire an SDS chisel only when tiles are cemented to masonry and hand methods stall. On plasterboard, power chisels usually destroy the face.
Step-by-step removal
1. Protect and clear
Empty the zone. Cover sanitaryware and floors. Bag as you go so you are not standing on shards. Open a window; dust hangs in small UK bathrooms.
2. Rake the grout
Cut grout lines so each tile can move alone. Intact grout makes a sheet that rips bigger plaster patches when one tile goes.
3. Start at an edge or a broken tile
Crack a centre tile if needed to get a purchase. Work a chisel under an edge, bevel down toward the wall, and tap to lift. Keep the chisel as flat as you can so it slides on the adhesive rather than diving into plaster.
4. Progress in bands
Remove tiles in a manageable strip. When plaster starts to face away, slow down and take smaller bites. Saving an hour of stripping can cost a day of replastering.
5. Clear adhesive residue
Scrape remaining adhesive lumps. On masonry, a sharp scraper or careful SDS paddle leaves a tile-ready face. On plasterboard, stop when you reach sound paper face; torn paper means patch or replace the board.
6. Repair before the next finish
Fill gouges, restick loose plaster, or cut out destroyed plasterboard back to studs and screw in a new piece. Dry thoroughly. Then set out for bathroom wall tiling, a splashback, or full shower enclosure tanking on a sound background.
Mistakes that turn into replaster jobs
- Levering whole sheets of tiled plasterboard off the studs in one go.
- Using a crowbar as the first tool on a skimmed brick wall.
- Skipping grout raking so every lift tears a dinner-plate of plaster.
- Working blind behind a bath panel into unknown pipes.
- Leaving crumbly adhesive and hoping new tile adhesive will “take up the difference”.
When to call a pro
Call a plasterer if large areas of background fail, or a tiler/bathroom fitter if shower tanking and tray work sit behind the strip-out. Call a plumber or electrician if you expose damaged pipes or cables. Recurring damp behind tiles needs a damp diagnosis, not just prettier ceramics.
After the wall is sound again, move on to tile a bathroom wall, tile a splashback, or tile a shower enclosure. If the old face passed the go / no-go checks, you may not need to strip at all: tile over existing tiles when OK.
FAQ
Will the plaster always be ruined?
No. On a hard, well-keyed plaster with weak old adhesive, tiles often pop leaving a scabbled but usable face. Strong cement adhesive on soft plaster almost always takes lumps with it. Your test tile decides.
Can I use a hammer drill chiselling function on plasterboard?
Avoid it. The vibration shreds the board face. Hand tools and patience, then replace panels that fail.
How do I dispose of old tiles?
Bag rubble sacks and take them to the household waste recycling centre under construction waste rules for your council. Do not put heavy tile waste in ordinary black bins.
Should I strip ceiling tiles the same way?
Ceiling tiles (where present) are messier and more likely to bring down weak plaster. Support the area, protect below, and be ready to replaster. If the ceiling is artex or unstable, get advice before wholesale strip-out.
8 comments