How to Lay Loft Insulation Between and Over Joists
26 June 2026 Joe HartleyIntermediate1–2 days5 comments
Tools
- Loft boards or crawl boards
- Temporary work light
- Tape measure
- Utility knife or insulation saw
- Straight edge for cuts
- Dust mask, goggles, gloves, long sleeves
- Mineral wool rolls for between-joist and over-joist layers
- Eaves baffles if needed
UK joists are rarely deep enough on their own for a full loft quilt. How to lay loft insulation between and over joists means two layers: one snug in the bays, then a second run at right angles so the timber tops are covered. That crosswise top layer is what stops cold stripes above bedrooms. Do this after you understand depth and vents in the parent loft guide.
If upstairs walls still sweat or grow mould after the loft is sealed, look at moisture control with how to stop condensation on windows and how to treat mould on walls safely. Secondary glazing film can help cold single glazing: how to fit secondary glazing film.
Two-layer build-up at a glance
| Layer | Direction | Job |
|---|---|---|
| First | Parallel with joists, filling each bay | Stops heat loss through the plasterboard between joists |
| Second | Across the joists (crosswise) | Covers joist tops and builds total depth toward ~270 mm |
| At eaves | Both layers stopped short of vents | Keeps a continuous air path from soffit into the loft |
Typical first layer: ~100 mm between joists. Typical second: another ~170 mm (or packs that sum to about 270 mm total). Exact pack thicknesses vary; buy by total depth, not by “one pack looks thick enough”.
If you only need help unrolling the first layer, use how to lay loft insulation rolls. Overview and PPE: how to insulate a loft.
Before the second layer goes down
- First layer complete, dry, and butted. No big voids at party walls.
- Eaves channels still open. Fit baffles where the second layer might creep toward the soffit.
- Boards ready so you kneel on timber, not on the new quilt.
- Hatch area left workable: you still need to get in and out without shredding the top layer every visit.
- Downlights and cables checked for clearance rules before you bury them deeper.
Step-by-step
1. Confirm first-layer height
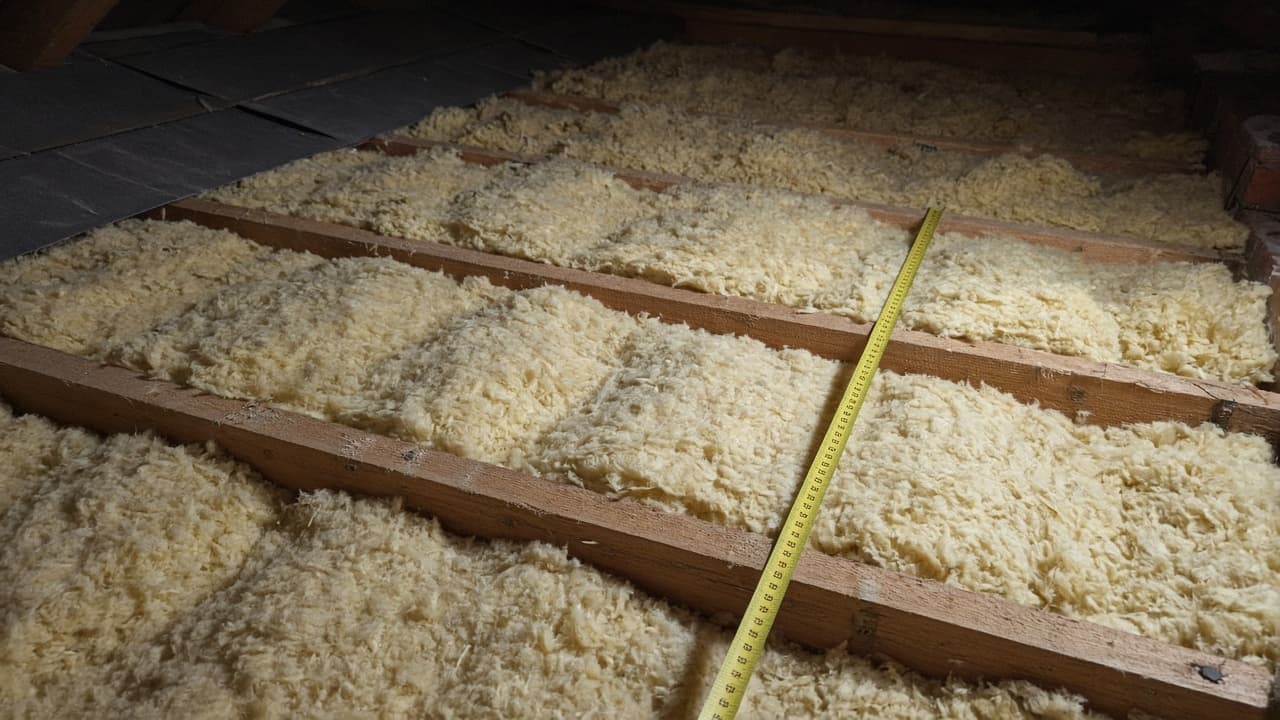
The between-joist quilt should sit roughly level with, or a little above, the joist tops without being stamped flat. Thin hollows in a bay need a strip filler before you cover everything.
2. Plan the crosswise runs
Measure across several joists. Unroll the second layer so joints in the top layer do not line up with gaps in the first where you can avoid it. Start at the far eaves and work back toward the hatch so you are not trapped behind a finished field of wool.
3. Lay the top layer across the joists
Place the second rolls at right angles to the joists. Let them bridge the timber. Butt edges tightly. Do not leave uncovered joist lines “for walking”; that is the cold bridge you came to fix. Use boards on top of joists (or temporary boards that span several joists) when you must cross the loft.
4. Keep depth without crushing
The top layer should look lofty, not ironed. If you need storage later, raised loft legs and boarding that sit above the insulation are the route, not plywood screwed down hard onto the quilt.
5. Detail the eaves and edges
Stop both layers short of the ventilation path. At the eaves, a neat taper or baffle is better than a wool dam. At the hatch opening, trim so the lid still closes and you can add hatch insulation separately.
6. Finish services and the hatch
Lag cold pipes that now sit in a colder roof space. Seal obvious gaps around pipe penetrations. Insulate the hatch lid and add draught seals: how to insulate a loft hatch.
Common mistakes
- Running the second layer the same way as the first, leaving joist tops exposed in continuous lines.
- Kneeling directly on the new top layer and compacting whole strips to half thickness.
- Blocking eaves vents with the thicker second layer because nobody fitted baffles first.
- Covering recessed lights that are not rated for a deep quilt.
- Boarding storage straight onto the insulation “temporarily” and leaving it for years.
When to call a pro
Get a roofer or builder in if timbers are damp, felt is failing, or the loft is a warm-roof / room-in-roof where stuffing between rafters can trap moisture. Call an electrician for light hoods, damaged cable, or unclear clearances. Very large or inaccessible lofts are often cheaper done once by a crew than twice by a tired weekend.
Related: how to insulate a loft for planning and PPE, how to lay loft insulation rolls for the first-layer technique, and how to insulate a loft hatch once the floor is done. Raised loft legs for storage sit above the quilt; do not crush the top layer under plywood.
FAQ
Why cross the second layer over the joists?
Joists are thermal bridges. A first layer alone leaves cold timber lines above the rooms. A crosswise second layer covers those tops and builds the depth you need for UK energy performance.
What total thickness should I reach?
Around 270 mm of mineral wool (or the equivalent performance the product quotes for cold lofts) is the usual DIY target. Measure what you already have between joists, then choose a second-layer pack that closes the gap.
Can I use rigid boards instead of a wool second layer?
Sometimes, but boards need careful fitting, fire and vapour detailing, and they are less forgiving around pipes. For most cold lofts, a mineral wool second layer is the straightforward DIY choice. First-layer roll technique is in how to lay loft insulation rolls.
5 comments