How to Insulate a Loft
13 June 2026 Joe HartleyIntermediate1–2 days5 comments
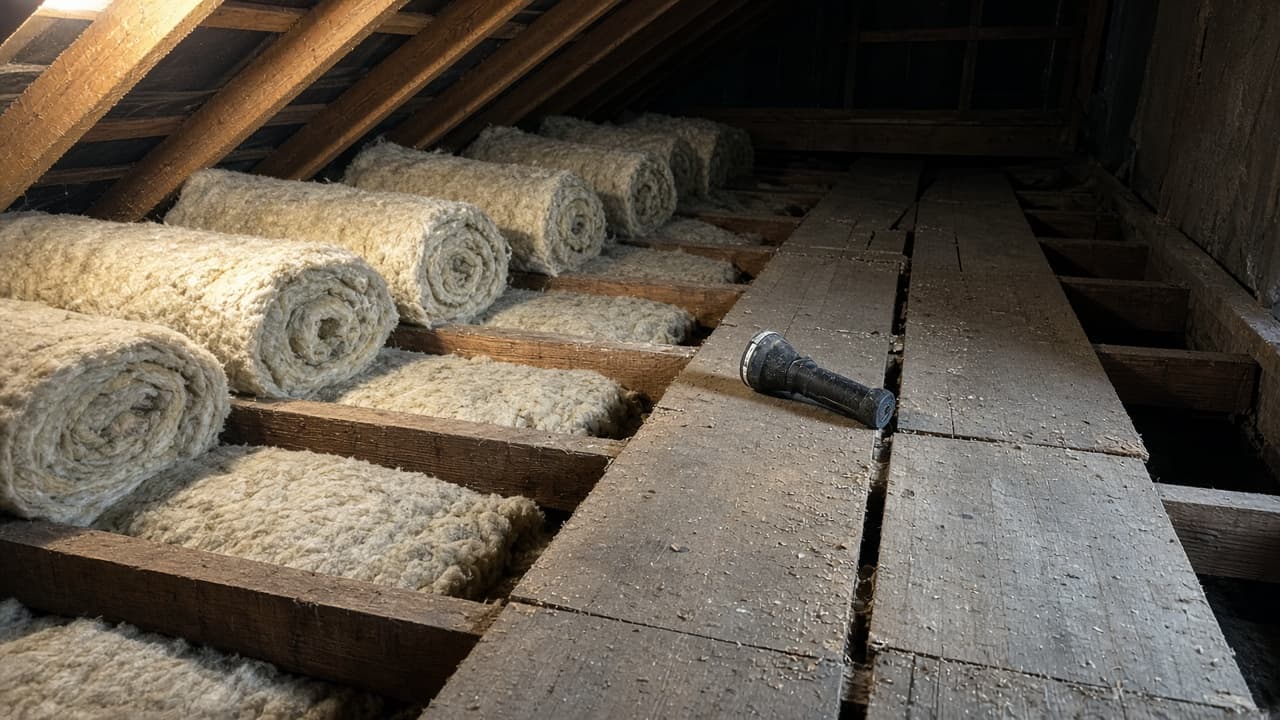
Tools
- Loft boards or crawl boards
- Torch or temporary work light
- Tape measure
- Utility knife or insulation saw
- Dust mask (FFP2 or better), goggles, gloves, long sleeves
- Mineral wool loft rolls (or equivalent)
- Eaves ventilators / baffles if gaps are tight
A cold loft wastes heat through the ceiling and leaves upstairs rooms chilly. How to insulate a loft in a typical UK house is mostly planning: get the depth right, leave a clear air path at the eaves, and never walk on plasterboard alone. This is the overview job; the laying detail sits in the sibling guides linked below.
If mould or window condensation is already bad downstairs, sort moisture habits too. Insulation helps warm surfaces, but it does not replace how to stop condensation on windows or a safe clean with how to treat mould on walls safely.
What you are aiming for
| Situation | Sensible target |
|---|---|
| Empty or thin loft (under about 100 mm) | Build up to around 270 mm total mineral wool (or the product depth that meets current energy guidance for cold pitched lofts) |
| Existing quilt roughly 100–150 mm | Add a second layer over the joists to reach ~270 mm total |
| Already near 270 mm and evenly laid | Hatch, pipes, and draughts matter more than buying more rolls |
| Warm-roof or room-in-roof | Different detailing; do not stuff between rafters like a cold loft without checking condensation risk |
Joists in older UK houses are often 100 mm deep. That means the first layer sits between them and a second layer runs across on top. Compressing the quilt under boards or boxes kills its value; if you need storage, use raised loft legs later rather than standing on the insulation.
Safe loft setup before any rolls go down
- Boards under your feet. Lay temporary crawl boards or fixed loft boards so your weight sits on joists, not on the ceiling. A foot through plasterboard is a weekend ruined.
- Light you can trust. Phone torches leave shadows between joists. A clip-on LED or temporary light shows cables, nails, and gaps at the eaves.
- PPE. Mineral wool itches and sheds fibres. Long sleeves, gloves, goggles, and a proper dust mask beat a handkerchief.
- Spot the eaves vents. Look for open eaves, soffit slots, or plastic trays. Air must still move from eaves into the loft after you finish. Blocking that path is a classic route to damp roof timbers.
- Clear junk and check for leaks. Move boxes. Note wet patches, daylight at flashings, or staining on the underside of the roof covering. Fix water ingress before you bury it in quilt.
Downlights in the ceiling below need clearance or fire-rated hoods as the maker specifies. Do not bury recessed lights in loose insulation unless the fitting is rated for it.
Choose the laying method
| Method | When it fits | Guide |
|---|---|---|
| Rolls between joists only | First layer, or topping up a thin first layer to joist depth | How to lay loft insulation rolls |
| Between then over joists, crosswise | Reaching full depth without cold bridges along joist tops | How to lay loft insulation between and over joists |
| Hatch lid and seals | After the loft floor is done; the hatch is a heat hole | How to insulate a loft hatch |
Most cold lofts need the two-layer method. Roll technique alone is fine for the first pass or a thin top-up.
Step-by-step overview
1. Measure and buy depth, not guesswork
Measure joist centres and existing quilt thickness in a few places. Buy enough roll area for the loft footprint plus waste at hips and around the hatch. Prefer unfaced loft rolls for cold lofts unless the pack says otherwise for your build-up.
2. Protect the eaves air path
At the eaves, stop short of stuffing quilt hard into the soffit. Fit eaves baffles or leave a clear channel so outside air can still enter.
3. Lay the first layer between joists
Unroll between joists so the quilt fills the bay gently, butt joints tight, no big voids at walls. Cut around pipes and cables; do not force wool into a compressed brick.
4. Lay the second layer across the joists
Run the next layer at right angles so joist tops are covered. Aim for the total depth target without stomping the material flat.
5. Finish the hatch and cold spots
Insulate and draught-seal the hatch. Lag cold water pipes in the loft so they do not freeze now the roof space is colder. Seal obvious gaps around pipe penetrations where warm air can leak up.
Common mistakes
- Walking on plasterboard between joists “just for a second”.
- Packing insulation hard into the eaves and closing soffit vents.
- Leaving joist tops bare so cold bridges sit in stripes above bedrooms.
- Compressing quilt under plywood sheets laid straight on top for storage.
- Ignoring a damp patch in the roof covering and insulating over it.
- Skipping the hatch: a thin timber lid undoes a neat loft floor.
When to call a pro
Call a roofer if the covering leaks, felt is shredded, or timber looks rotten. Call an electrician if wiring is damaged, overloaded, or you need recessed light hoods fitting properly. Call an insulation installer or surveyor if you have a complex warm roof, flat roof, or room-in-roof and condensation risk is unclear. Structural doubts about joists that bounce or split are not a DIY gamble.
Related in this cluster: how to lay loft insulation rolls, how to lay loft insulation between and over joists, how to insulate a loft hatch, and how to draught-proof windows and doors once the loft is sorted and cold air still sneaks in at openings.
FAQ
How thick should loft insulation be in the UK?
For a typical cold pitched loft with mineral wool, aim for around 270 mm total depth (or the product thickness that meets current energy guidance). Many older houses only have 100 mm between joists, so you need a second layer over the top.
Can I leave the old insulation in place?
Yes if it is dry, evenly laid, and not contaminated. Top it up rather than ripping everything out. Remove or replace sections that are wet, mouldy, or compacted to almost nothing.
Do I need a vapour barrier under loft rolls?
In a standard cold loft with mineral wool above the ceiling, you usually leave the quilt unfaced and rely on the ceiling and good ventilation at the eaves. Do not add random plastic sheets that trap moisture against cold timber unless a competent designer has specified a warm-roof or complex build-up.
5 comments