How to Replace a Lockshield Valve
22 July 2026 Joe HartleyIntermediate1–2 hours10 comments
Tools
- Adjustable spanners (two)
- Radiator bleed key
- Screwdriver (for the lockshield cap)
- Bucket, tray, and towels
- Replacement lockshield valve
- PTFE tape
- Marker or notepad for turn count
The lockshield is the quiet valve on the opposite end from the TRV. It sets how much flow that radiator gets once the system is balanced. Replace it when the gland weeps, the spindle is seized, or the body is damaged. The one rule that saves an evening of rebalancing: count how many turns it is open from fully closed before you undo a single nut.
This stays on radiator valves and copper tails. Do not open the boiler, alter gas pipe, or strip sealed-system safety components. That is Gas Safe work.
Why the turn count matters
Balancing is mostly lockshield geometry. Each radiator is throttled a different amount so distant rooms still get heat. If you fit a new valve and open it “about halfway,” you throw that room (and often the next ones) out. Write the number on masking tape stuck to the rad before you start.
If the spindle will not move, close it as far as it will go, note that it was seized, and plan to rebalance that radiator against neighbours after refill. See also replace a TRV if both ends need attention, and bleed a radiator once water is back in.
What matches the old valve
| Check | Why |
|---|---|
| Angled vs straight | Clears skirting and pipe run the same way |
| 15 mm compression (typical) | Matches UK copper tails |
| Wheel-head or lockshield pattern | You want a proper lockshield with a cover cap, not a second TRV |
| Centre-to-tail geometry | Avoid forcing pipes into a different spread |
Take a photo of the pipe approach before stripping. Decorators’ paint often glues the decorative cap on; prise gently so you do not round the spindle flats.
Step-by-step
1. Record the opening
Pull the plastic cap. Using a small spanner or screwdriver on the spindle, close the valve fully while counting half-turns or full turns from the starting position back to closed. Write “open N turns” on tape. That N is what you restore later.
2. Isolate the radiator
Shut the TRV (or fit a decorating cap on the TRV body). With the lockshield already closed from the count, open the bleed screw into a cloth to drop pressure, then crack the lockshield union into a tray and drain what is left. Towels under the valve catch the sludge stripe that always appears on carpet.
3. Remove the old lockshield
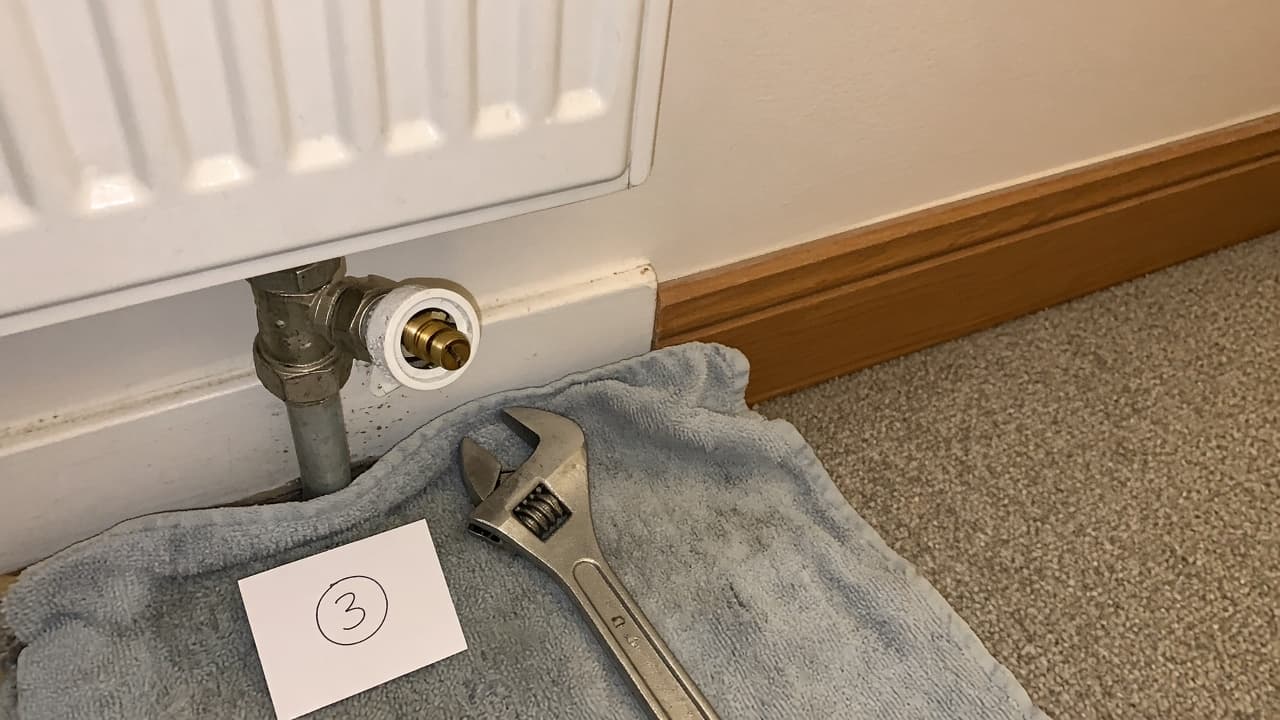
Two spanners: one holds the body, one turns the nut. Free the radiator union, then the copper compression nut. Ease the valve away. If the olive is stuck, a gentle twist usually frees it; do not lever hard against thin 15 mm pipe.
4. Fit the new valve
Clean the radiator tail face. Use PTFE on threaded male connections where the instructions call for it. Seat compression joints metal-to-olive without wrapping the olive seat in tape. Align the new lockshield so the spindle is reachable after the skirting and any shelf go back.
5. Restore the same opening
Hand-tight then spanner-tight on both nuts, body held still. From fully closed, open the spindle the exact number of turns you recorded. Refit the cap so nobody knocks the setting while vacuuming.
6. Refill, heat, bleed, and watch for weeps
Open the TRV. Restore sealed-system pressure with the filling loop if you dropped it. Run the heating and bleed the radiator. Feel the return pipe after twenty minutes; it should behave much as it did before if the turn count is right. Kitchen paper around each joint shows a slow drip you might otherwise miss.
Job-specific detail: Old lockshields often have a shallow spindle with paint in the slot. Count turns slowly. Rushing past “closed” and forcing the spindle can shear a soft tip, and then you have no reference left.
Common mistakes
- Opening the new valve fully “to be safe,” then roasting one room while the landing stays cold.
- Using one spanner and twisting the hidden copper behind the wall plate.
- Swapping in a TRV on the lockshield end and losing a fixed balance point.
- Skipping the bleed, then deciding the new valve is faulty because the top stays cold.
- Ignoring a weep at the gland until it marks the laminate.
When to call a pro
Call a plumber if isolation will not hold, pipework is corroded through, or joints keep weeping after correct olives and tightening. Call a Gas Safe engineer for anything on the gas side, boiler internals, or if pressure relief and discharge behaviour looks wrong after you have only worked on a radiator valve. DIY stops at the water-side radiator valves.
Related reading: bleed a radiator, replace a TRV, and fix a cold radiator.
FAQ
How do I replace a lockshield valve without losing my balance settings?
Close it from the current position while counting turns to fully shut. Fit the new valve, close it fully, then open by the same count. If the old spindle was seized and you never got a true count, treat that radiator as needing a fresh balance against the rest of the house.
Which way do I turn a lockshield to close it?
Clockwise to close, same as most valves. The decorative cap hides the spindle; remove the cap before you count. Do not assume the painted position of the cap means anything.
Why does the new lockshield still drip?
Usually the olive is reused when it should be replaced, the union face is painted or dirty, or the body was twisted while tightening. Drain or isolate again, remake the joint cleanly, and tighten while holding the body. Persistent gland weeps on cheap valves sometimes mean another replacement rather than endless packing.
10 comments