How to Lay Timber Decking on Joists
15 July 2026 Joe HartleyIntermediate1–3 days20 comments
Tools
- Tape measure and chalk line
- Spirit level
- Drill/driver with clutch
- Circular saw or handsaw
- Exterior decking screws
- 5 mm spacers or packers
- String line
Timber decking only looks simple. Boards cup if you fix the wrong face up, shrink if you butt them tight in a damp week, and stain if you use indoor screws outdoors. Work off a true frame, leave drainage gaps, and drive screws that will still be there after the first winter.
Frame first: how to build a decking frame. Choosing plastic-wood boards instead: how to lay composite decking. After the surface is down, protect softwood with how to oil and maintain decking.
Softwood, hardwood, and which face up
| Board | Typical UK use | Fixing notes |
|---|---|---|
| Pressure-treated softwood (often pine / spruce) | Most garden decks | Affordable; needs oil or stain over time; watch for raised grain |
| Grooved softwood | Slip resistance underfoot | Grooves usually face up for grip; check the pack if one face is unfinished |
| Hardwood (e.g. balau) | Longer-lasting show decks | Pre-drill; harder on blades and bits; follow density / screw guidance |
Many softwood boards have a slight cup. Fix them bark side / convex face up as traditional practice so water sheds off the curve rather than pooling in a dish. If the board is already grooved for the walking face, follow that and accept the mill’s intention.
Joist centres are commonly 400 mm for softwood. If your boards are thin or the frame feels lively when you walk it bare, closer centres help. Double joists under every butt joint in the length.
Boarding the frame
1. Sort and dry-stack
Cull boards with wild bows, huge knots at proposed screw lines, or waney edges you cannot hide. Mix colour and grain across the deck so one green pack does not sit next to one yellow pack in a stripe. Keep treated timber off soil while you work.
2. Set the starter board
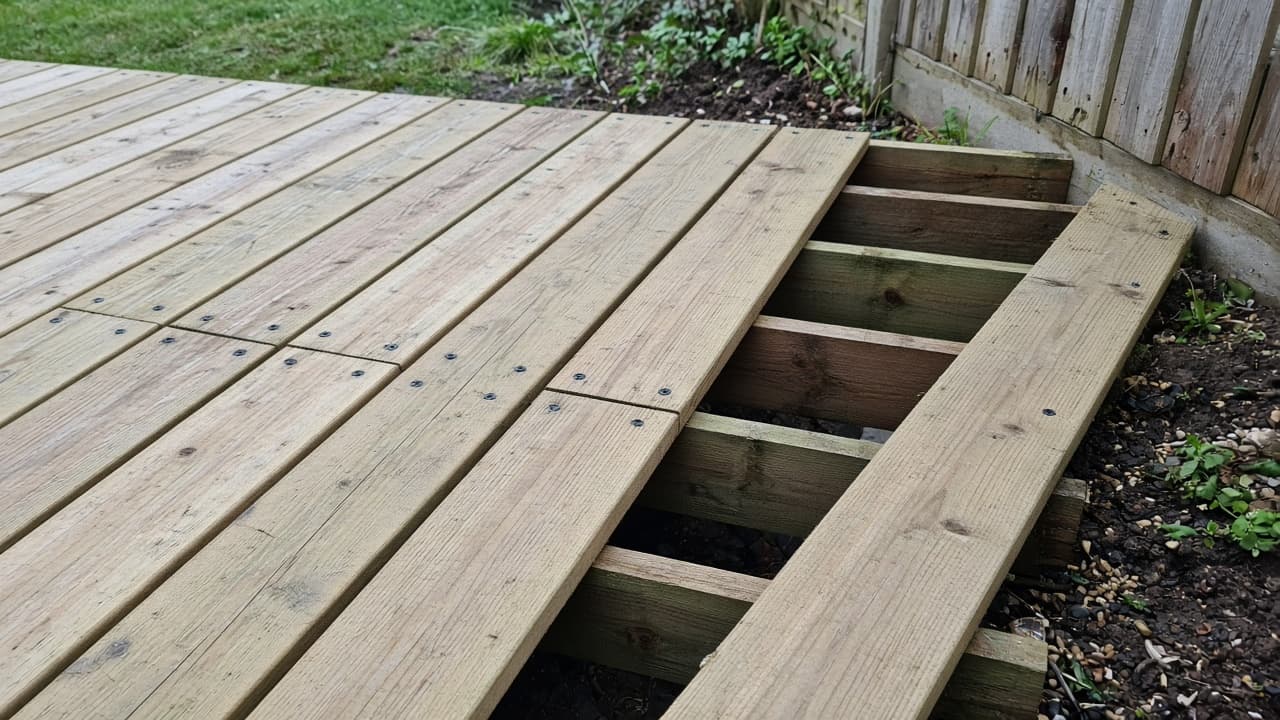
Snap a line parallel to the main sight edge (often the house wall). Leave a small gap to masonry for drainage and so wet boards can move. Fix the first board dead straight; every later row copies its errors. Two screws into each joist is the usual pattern for standard widths (often about 120–145 mm cover).
3. Gap as you go
Use 5 mm spacers (or the gap the board maker states) between boards. Softwood delivered wet will shrink; boards cramped tight in October often open into wide slots by spring, while boards cramped in a heatwave can buckle. Even gaps also drain. Keep the spacer habit to the last bay; “near enough by eye” shows from the kitchen window.
4. Screw properly
Use exterior decking screws, not bright zinc woodscrews. Pilot hardwood and the ends of softwood to limit splits. Drive screws flush or a fraction below the surface; do not crater deep holes that hold water. Keep a string line along screw rows if the look matters. Missed joists are obvious when the board lifts under a chair leg.
5. Stagger joints and finish edges
Stagger end butts so they fall on different joists, like brickwork, not a single seam across the deck. Trim the long edge of the last board with a chalk line so the fascia runs true. Fit fascia or edge boards to hide joist ends. Ease sharp arrises with a block plane or sandpaper where bare feet matter.
6. Sweep and check
Punch or redrive any proud screws. Confirm gaps still look even after a day; adjust a board now rather than after oiling. Plan first-coat oil once the surface is clean and dry enough for the product.
Mistakes that open up by spring
- Butting boards tight with no gap, then watching them ridge after sun and rain cycles.
- Fixing with indoor screws that rust into black tears along every joist line.
- Starting off a crooked wall without a string line, so the far edge needs a tapered rip you can see from upstairs.
- Leaving butt joints unsupported between joists so ends flex and split at the screw.
When to call a carpenter or landscaper
Get help if the frame rocks, joists are rotten, or you are boarding a raised deck that still needs stairs and handrails to feel safe. Large hardwood deliveries with site cuts on upper floors are another reason to hire time rather than fight every board alone.
Related reading: build a decking frame, lay composite decking, oil and maintain decking, and fix squeaky decking boards.
FAQ
Which way up should timber decking boards go?
If one face is grooved for walking, that face usually goes up. On plain boards, many carpenters fix the slightly convex face up so water runs off. Follow the mill’s marking when it is clear.
What gap between decking boards UK?
Around 5 mm is a common softwood starting point, adjusted for the board’s moisture and the maker’s note. You need drainage and room to move; a closed seam looks neat on day one and fails later.
Should I oil new timber decking straight away?
Often yes for untreated or lightly treated show timber once the surface is clean and dry enough for the oil. Some pressure-treated boards want a weathering period first; read the timber ticket. Full method: oil and maintain decking.
20 comments