How to Fit a Handrail to a Wall
30 July 2026 Joe HartleyIntermediate2–4 hours9 comments
Tools
- Tape measure and pencil
- Spirit level (long)
- Stud / joist finder or tapping method
- Drill with masonry and wood bits
- Wall plugs rated for the load
- Screwdriver / driver
- Handrail, brackets, and end caps
- Dust sheets
A wall handrail gives a second grab line on a stair, opposite or instead of an open banister. Height and fixing strength matter more than a pretty timber choice. A rail that sits too low, or brackets that pull out of plasterboard on the first hard lean, is worse than no rail. This guide covers a straight domestic flight on a solid or stud wall. Continuous rails on winders and turns need a joiner.
Height, load, and wall type
For domestic stairs in the UK, aim for a handrail height of about 900 mm above the pitch line (the notional line over the nosings). Measure consistently up from each nosing, not from the carpet pile. Keep the height even all the way up; a rail that climbs or drops feels wrong under the hand and looks amateur.
The rail and brackets must take a firm sideways pull from an adult. That means:
| Wall | Fix into | Avoid |
|---|---|---|
| Brick / block with plaster | Masonry plugs and screws into the masonry | Plastic plugs only in soft plaster skim |
| Plasterboard on timber studs | Brackets into studs, or a timber pattress screwed to studs | Hollow-wall plugs alone for the whole load |
| Plasterboard on metal studs | Specialist advice / joiner; often a timber backing | Assuming a toggle will hold forever |
Find studs with a reliable detector and confirm by drilling a fine pilot in a paint-friendly spot. On masonry, a 6–7 mm masonry bit and matching plugs are typical; follow the bracket maker’s screw size.
Stop if the stringer is damaged on an open flight you are also repairing. A wall rail does not replace a failed structural side. Get the flight checked if treads bounce or the stringer is split: how to fix squeaky stairs.
What to buy
| Item | Notes |
|---|---|
| Handrail length | Cover the flight with comfortable overrun at top and bottom landings where space allows |
| Brackets | Stair handrail brackets; space often around 800–1000 mm centres, and always near ends |
| Fixings | Outdoor/indoor screws as appropriate; plugs rated for shear and pull-out |
| End caps / returns | Returns toward the wall reduce catching sleeves and bags |
If the open side still needs spindles sorted, do that as its own job: how to replace a stair spindle.
Fit the rail
1. Mark the pitch line height
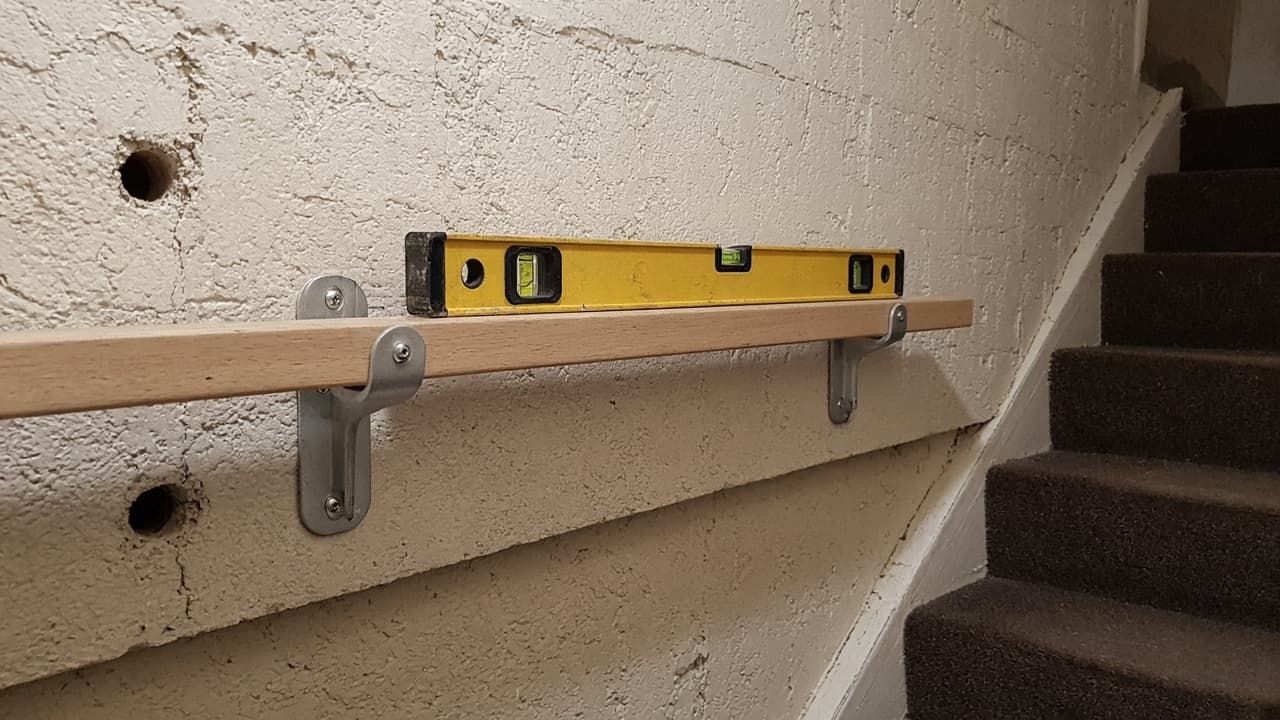
Hold a long spirit level or use a taught string parallel to the nosings. Mark bracket centres at about 900 mm above that line. Transfer marks so every bracket sits on the same sloping alignment.
2. Locate sound fixing points
On stud walls, shift bracket positions slightly along the rail if needed so screws hit studs. Do not leave an end bracket in hollow board. On masonry, avoid drilling into old crumbling mortar if you can hit brick instead; deep soft joints need resin or a better plug strategy.
Check for cables and pipes. Stair walls often hide lighting circuits parallel to the flight.
3. Fix brackets first, then the rail
Screw brackets to the wall plumb and packed so the rail will sit true. Offer the rail up, mark screw holes from the brackets, and drill the rail as the bracket design requires. Some systems clamp; others screw from below. Leave a small clearance from the wall so knuckles clear the plaster.
4. Load-test before you call it done
Lean firmly along the rail, especially at mid-span and at the top. Any bracket that shifts, cracks the plaster, or pulls is a fail. Refix into better substrate or add a timber pattress spanning two studs. A decorative rail that only survives a light touch is not finished.
5. Cap and clean up
Fit end caps or wall returns. Fill unused pilot holes, vacuum dust, and wipe fingerprints off painted walls. If you still need soft covering on the treads, decide DIY versus fitter next: how to carpet a staircase or decide to hire.
Mistakes that make a weak handrail
- Fixing only into plasterboard with light hollow plugs.
- Setting height from the carpet surface so the rail sits low once you measure properly from the nosings.
- Spacing brackets too far apart so the rail flexes between them.
- Drilling a neat row into a cable run beside the stairs.
- Skipping a load test because the rail “looks level”.
When to call a joiner
Call a joiner for winders, curved flights, continuous rails over turns, metal stud partitions you cannot back, or when the existing banister and newels are failing together. A wall rail is a good DIY upgrade on a straight masonry flank; it is not a patch for a collapsing balustrade.
See also: fix squeaky stairs, replace a stair spindle, carpet a staircase or decide to hire.
FAQ
How high should a stair handrail be in a UK house?
Aim for about 900 mm above the pitch line over the nosings for a domestic flight. Keep that height consistent from bottom to top. Local Building Regulations guidance and manufacturer instructions still apply if you are building a new stair rather than adding a grab rail to an existing one.
Can I fit a handrail to plasterboard?
Yes if every bracket bites timber studs or a proper timber backing fixed to studs. Hollow-wall fixings alone are not enough for a handrail that people pull on.
How many brackets does a stair handrail need?
Enough that the rail does not flex under a firm lean: typically one near each end and intermediates about 800–1000 mm apart, adjusted so fixings hit solid substrate. Short landings still need solid end support.
9 comments