How to Build a Simple Bookshelf
2 August 2026 Joe HartleyIntermediateHalf a day to a weekend19 comments
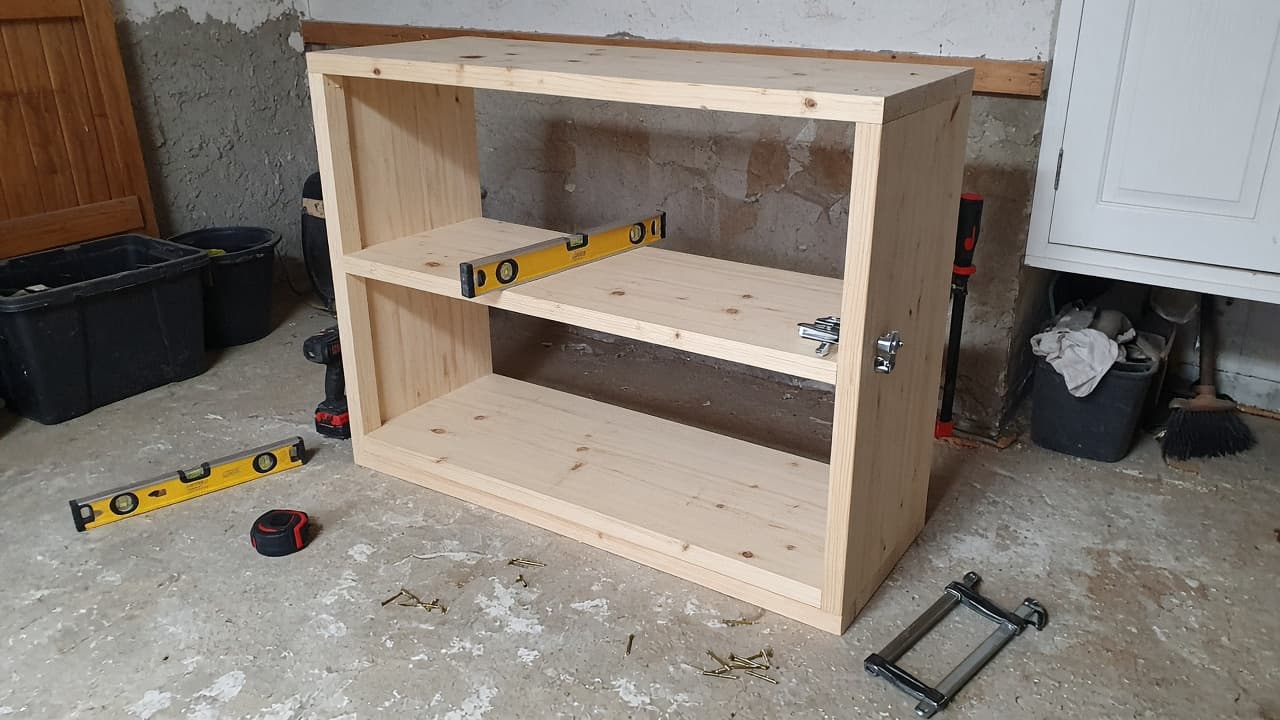
Tools
- Tape measure, square, and pencil
- Circular saw or handsaw with a straight edge
- Drill, screwdriver, and countersink
- Wood glue and clamps or packing tape
- Spirit level and wall fixings for anti-tip
A simple bookshelf is a carcass: two sides, a top, a base, and shelves that stay square under load. Build it freestanding, then strap or screw it back to the wall so a child or a soft carpet cannot tip it. Wall-mounted boards alone are a different job; see how to put up shelves on plasterboard if you want brackets instead of a unit.
Sizes that work for paperbacks and hardbacks
| Decision | Practical UK starting point |
|---|---|
| Shelf depth | 200–250 mm for novels; 300 mm if you want large art books flat |
| Clear height between shelves | 220–280 mm for most paperbacks; measure your tallest stack |
| Side height | Plan shelves first, then cut sides to suit |
| Material | 18 mm pine or birch ply; MDF is fine if you paint and support mid-span |
| Max open span without mid support | Keep under about 800 mm for 18 mm softwood under books |
Buy boards that are already planed. Check each piece for cupping before you cut. A bowed side makes every shelf look drunk no matter how careful you are with the square.
Timber and fixings
| Item | Notes |
|---|---|
| 18 mm boards | Sides, top, base, shelves; same thickness keeps joints simple |
| PVA wood glue | On every butt joint before screws |
| 4 × 50 mm screws | Countersink so heads sit flush for paint or oil |
| Corner blocks or pocket screws (optional) | Extra stiffness at the back corners |
| Thin plywood back (optional) | 6 mm hardboard or ply squares the carcass and stops racking |
| Anti-tip strap or angle brackets | Fix into a stud or masonry, not into plasterboard alone |
Build sequence
1. Cut the sides and check them as a pair
Cut both sides to length in one go if you can, or clamp them together and trim so they match. Mark the inside face of each side. Measure shelf positions from the bottom up so any small error sits at the top where it is less obvious.
2. Cut shelves, top, and base to the same length
All horizontal boards must share one length. Cut one, then use it as a pattern. Dry-fit: sides upright, shelves laid in. The carcass should look rectangular before any glue goes on.
3. Glue and screw the shelves into the sides
Work on a flat floor. Glue the end grain contact, clamp or tape, then screw through the side into the shelf end. Two screws per end on a 200 mm deep shelf is usual; keep screws in from the front edge so they do not blow out the face. Check with a square after each shelf.
4. Add top, base, and a back if you want it stiff
Fit the top and base the same way. If you add a back, square the carcass by equalising the diagonals (corner to corner measurements should match), then pin or screw the back on while it is square. That thin back does more to stop a tall unit racking than another shelf screw.
5. Sand, finish, and fix against tip-over
Ease sharp arrises. Oil pine or prime and paint MDF. Stand the unit where it will live, level it with thin packers under a foot if the floor dips, then fit an anti-tip strap high on the back into solid fixing. On plasterboard, find a stud; on brick, use a masonry plug.
Mistakes that leave a wobbly bookcase
- Measuring each shelf separately so lengths drift by a couple of millimetres. The sides bow when you force them.
- Screwing without glue on end-grain butts. The joint works loose under book weight.
- Skipping the anti-tip on a tall, narrow unit on carpet. It will rock.
- Using 12 mm board across a wide bay. It sags; add a thicker shelf or a centre divider.
When to call a joiner
Get help if you need built-in alcove cupboards with scribed finishes, or a unit that carries very heavy loads across a wide span. Freestanding carcass work is a good DIY job; full chimney-breast joinery is slower and less forgiving. For fitted shelves in a recess, use how to fit alcove shelves.
Related: how to hang a shelf for wall boards, how to put up shelves on plasterboard if brackets suit you better than a carcass, and how to fit alcove shelves for a chimney-breast recess.
FAQ
What wood works for a simple bookshelf?
18 mm pine or birch plywood is the usual weekend choice. Pine is cheap and easy to cut; ply stays flatter. MDF paints well but needs careful support and dust control when cutting.
How do I stop the shelves sagging?
Keep spans short, use 18 mm (or thicker) stock, and put the shelf’s stronger grain direction across the span. For wide bays, add a centre divider or a thicker front lip glued on edge.
Do I need a back on the bookshelf?
Not for looks, but a thin back squares the carcass and stops it parallelogramming when you slide it. Tall open units without a back need especially careful wall fixing.
19 comments