How to Plane a Door That Sticks
28 August 2026 Joe HartleyBeginner45–90 minutes8 comments
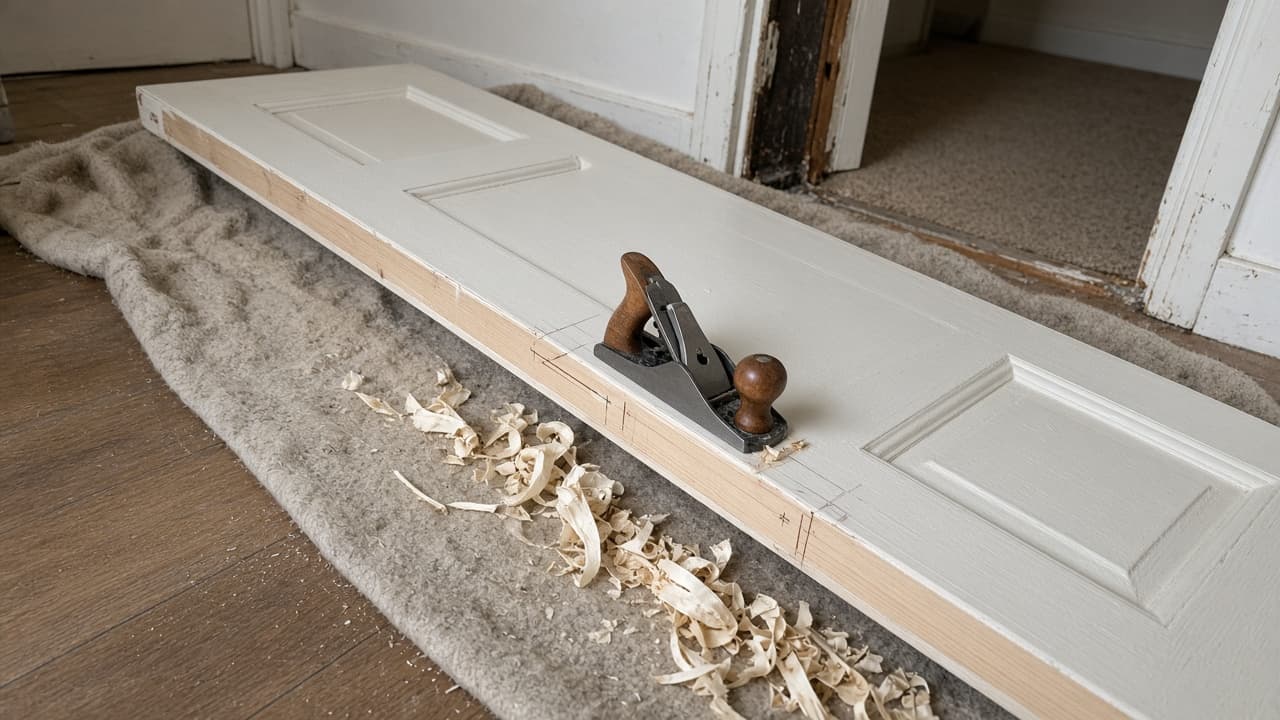
Tools
- Sharp block plane or bench plane
- Sanding block
- Pencil
- Screwdrivers
- Paint or clear sealer
Planing a door that sticks is the last step after hinges and strike are honest. Take off the high spots you marked, not a hopeful millimetre off the whole edge. Over-planing a hollow-core leaf is permanent.
Check hinge packing and gaps first. If the door is wildly oversized for an old frame, you may need how to cut a door to size before fine planing.
Plane or adjust hinges?
| Symptom | Try first |
|---|---|
| Rub on hinge edge | Tighten or deepen hinge recesses; rarely plane hinge edge |
| Rub on latch edge mid-height | Plane latch edge after confirming hinges are seated |
| Rub at top corner latch side | Plane head or top of latch edge; check frame square |
| Rub on carpet / floor | Bottom edge plane or undercut; check rising butts |
| Seasonal stick after wet weather | Light plane latch edge; seal bare timber |
Rising butts that lift over carpet: how to fit rising butt hinges. Fresh hang jobs: how to hang an internal door.
What you will need
| Item | Notes |
|---|---|
| Sharp plane | Dull irons tear softwood lippings |
| Pencil | Rub marks are your cut lines |
| Door wedges or remove leaf | Easier to plane on sawhorses for heavy cuts |
| Sealer | Bare edges drink moisture and stick again |
Step-by-step
1. Mark the rub
Close the door onto the frame until it touches. Run a pencil around the contact, or rub chalk on the jamb and close once. Open and look for transfer on the door edge. Those are the only zones you plane first.
2. Decide in situ or off the hinges
Light latch-edge shavings can be done with the door open and wedged. Bottom edges and heavy cuts are safer with the leaf off, on edge, hinge side down on a blanket so you do not bruise the face.
3. Plane with the grain on the lipping
Set a fine cut. Work from the ends toward the middle on the latch edge to reduce spelching at corners. Check fit often; two thin passes beat one deep gouge. On veneered faces, stop before you cut through the face veneer at the arris; ease the arris with sandpaper instead.
4. Refit and retest
Hang the door, close gently, and remark. Repeat until you have a even gap (about 2–3 mm at the latch edge on many internal doors). Adjust the strike if the latch no longer lines up after removing timber.
5. Seal bare timber
Paint, primer, or clear sealer on every freshly planed edge, especially the bottom. Unsealed bottoms wick mop water and swell within a season.
Mistakes that make the next winter worse
- Planing the hinge edge when loose screws were the fault.
- Removing so much latch edge that the stop no longer covers the gap.
- Cutting into hollow-core honeycomb.
- Leaving bare timber on a bathroom door.
When to call a joiner
Stop if the frame is moving (diagonal cracks, settlement), if you need to shorten a fire door, or if glass in a glazed door sits too close to a cut. A joiner will also reset linings that planing cannot fix.
Same cluster: how to hang a door on existing hinges, how to hang a new door in an old frame, how to fix a sticking door, how to cut a door to size.
FAQ
Where should I plane first?
Mark the rub, confirm hinges are tight, take thin shavings on the marked edge only, retest, then seal the bare timber.
Should I plane the top or the side?
Plane where the pencil mark is. Top rubs are often the head or a swollen top corner, not the whole latch edge.
Can I use a sander instead of a plane?
For a whisker of paint build-up, yes. For real timber removal, a sharp plane is faster and flatter than a floppy sanding disc.
8 comments